
If your WordPress website shows a “Not Secure” warning or takes too long to load, two things should be on your setup checklist: SSL and a CDN.
The good news is that you can get both without paying for an expensive security or CDN service. Hostinger provides free SSL for eligible hosting plans, while QUIC.cloud can work with LiteSpeed Cache to improve website delivery and performance.
In this guide, I’ll show you how to install free SSL on Hostinger and connect QUIC.cloud CDN to WordPress. The steps are beginner-friendly and work well for blogs, APK websites, download sites, and other WordPress projects.
You do not need coding knowledge for the basic setup.
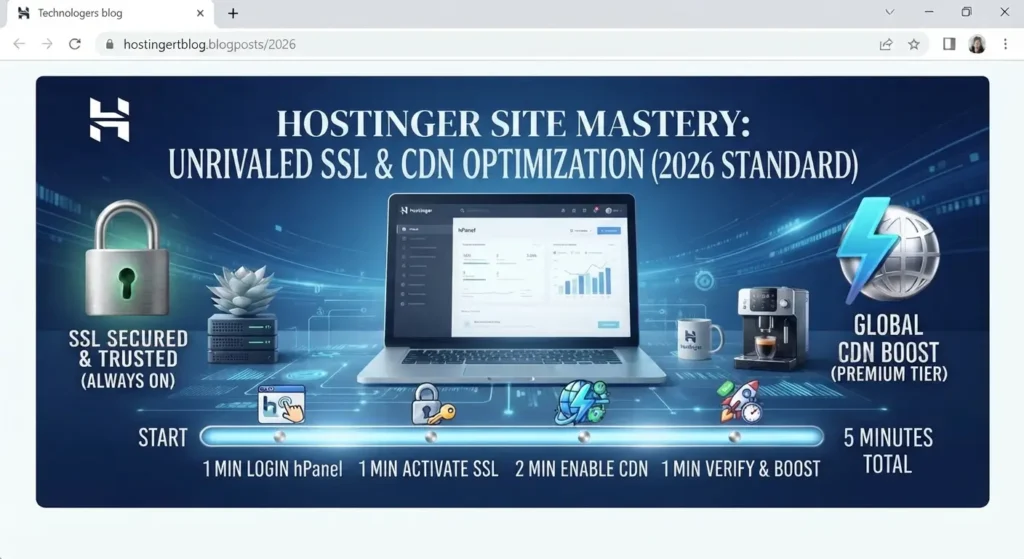
Important: The exact names and location of some Hostinger or LiteSpeed Cache options can change after updates. If your dashboard looks slightly different, look for the same SSL, HTTPS, CDN, or QUIC.cloud settings.
Table of Contents
Why SSL and CDN Matter for a WordPress Website
SSL and CDN solve different problems.
SSL protects the connection between your website and its visitors. It changes your site from http:// to https:// and helps protect information sent between the browser and server.
A CDN (Content Delivery Network) stores or serves website content from locations closer to visitors. This can reduce loading time, especially when your audience is spread across different cities or countries.
For an APK or download website, this can be useful because pages often contain images, app screenshots, banners, CSS, JavaScript, and other files that need to load quickly.
SSL and CDN are not magic SEO tools, though. HTTPS is an important security standard, while site speed and user experience can contribute to overall search performance. Good SEO still depends on useful content, technical health, mobile usability, and many other factors.
Part 1: Install Free SSL on Hostinger
The first step is to make sure your domain uses HTTPS.
Step 1: Open Hostinger hPanel
Log in to your Hostinger account and open the website or hosting plan connected to your domain.
From the hPanel dashboard, look for the SSL section.
Step 2: Select Your Domain
Open the SSL page and find the domain where you want to enable SSL.
If you have more than one website, make sure you select the correct domain before continuing.
Step 3: Install the SSL Certificate
If free SSL is available for your hosting plan, you should see an option to install or activate it.
Click Install or the equivalent activation button shown in your Hostinger dashboard.
Hostinger will then issue and configure the certificate for your domain.
Step 4: Enable HTTPS
After the certificate is active, make sure your website redirects visitors from HTTP to HTTPS.
Depending on your Hostinger setup, this may appear as a Force HTTPS or similar option.
Enable it if it is available.
Your website should then open using:
instead of:
http://yourdomain.com
Step 5: Give the SSL Setup a Little Time
SSL activation is often quick, but DNS or server changes can sometimes take longer.
Open your website in a private/incognito browser window and check whether the HTTPS version loads correctly.
If the lock icon appears in the browser, your basic SSL setup is working.
Why Your APK Website Should Use HTTPS
If you run an APK website, HTTPS is especially important for user trust.
Visitors are more likely to feel comfortable browsing a website when the browser shows a secure HTTPS connection. It also prevents browsers from displaying unnecessary security warnings caused by an HTTP connection.
HTTPS can also prevent problems with mixed content, where some website resources are still loaded over HTTP.
However, SSL does not mean that an APK file itself is safe. You should still check the apps you publish and use trusted sources.
Part 2: Connect QUIC.cloud CDN to WordPress
Once HTTPS is working, you can move on to the CDN.
QUIC.cloud works closely with LiteSpeed Cache, making it a useful option for WordPress websites running on LiteSpeed-based hosting.
Step 1: Create a QUIC.cloud Account
Open the QUIC.cloud website and create an account if you do not already have one.
Use an email address that you can access because you may need to verify your account.
Step 2: Add Your Website
After logging in, add your WordPress domain to your QUIC.cloud account.
Follow the verification instructions shown in the dashboard.
QUIC.cloud may ask you to verify domain ownership through DNS or another supported method.
Step 3: Verify Your Domain
Complete the verification process provided by QUIC.cloud.
If DNS verification is required, you will normally need to add a DNS record through the DNS manager where your domain is managed.
Do not remove existing DNS records unless you know exactly what they do.
After adding the required record, return to QUIC.cloud and complete the verification.
Part 3: Install LiteSpeed Cache in WordPress
The easiest way to manage QUIC.cloud with WordPress is through the LiteSpeed Cache plugin.
Step 1: Open WordPress Admin
Log in to your WordPress dashboard.
Go to:
Plugins → Add New Plugin
Search for:
LiteSpeed Cache
Install the official plugin and activate it.
Step 2: Connect LiteSpeed Cache
After activation, open the LiteSpeed Cache settings.
Depending on the current plugin version, the QUIC.cloud connection options may appear under different sections than older tutorials show.
Look for the QUIC.cloud or Domain Key connection option.
Step 3: Request a Domain Key
LiteSpeed Cache may ask you to request a domain key to connect your website with QUIC.cloud.
Click the available request or connection button and wait for the key to be issued.
Once the connection is complete, your WordPress site should be linked to your QUIC.cloud account.
Part 4: Enable the CDN Carefully
This is the part where you should avoid blindly copying settings from old tutorials.
Open the LiteSpeed Cache CDN settings and check the current QUIC.cloud CDN options available to your website.
Enable the CDN according to the options provided by your current LiteSpeed Cache and QUIC.cloud setup.
You may see settings related to:
- CDN status
- DNS setup
- QUIC.cloud connection
- CDN mapping
- Cache settings
- HTTPS
- Image optimization
The exact interface can change, so do not worry if your dashboard does not look exactly like an older guide.
Do not enable every advanced option at once. First make sure the basic connection works.
How to Check Whether SSL Is Working
Checking SSL is simple.
Open your website in a browser and look at the address bar.
You should see:
instead of:
You can also open several important pages, such as:
- Homepage
- APK category pages
- Individual download pages
- Contact page
- Search page
Make sure they all load correctly over HTTPS.
If some pages still redirect to HTTP or show browser warnings, you may have a mixed-content or redirect problem.
How to Check Your CDN Setup
Do not rely only on the browser’s lock icon to confirm that your CDN is working.
Open your LiteSpeed Cache and QUIC.cloud settings and check the CDN status shown there.
You can also test your website from different locations using a reputable website performance testing service.
Look for improvements in:
- Page loading time
- Image delivery
- Static file delivery
- Server response time
- Overall page performance
Remember that a CDN does not automatically make every website twice as fast. The actual improvement depends on your hosting server, visitors’ locations, page size, images, plugins, caching, and other factors.
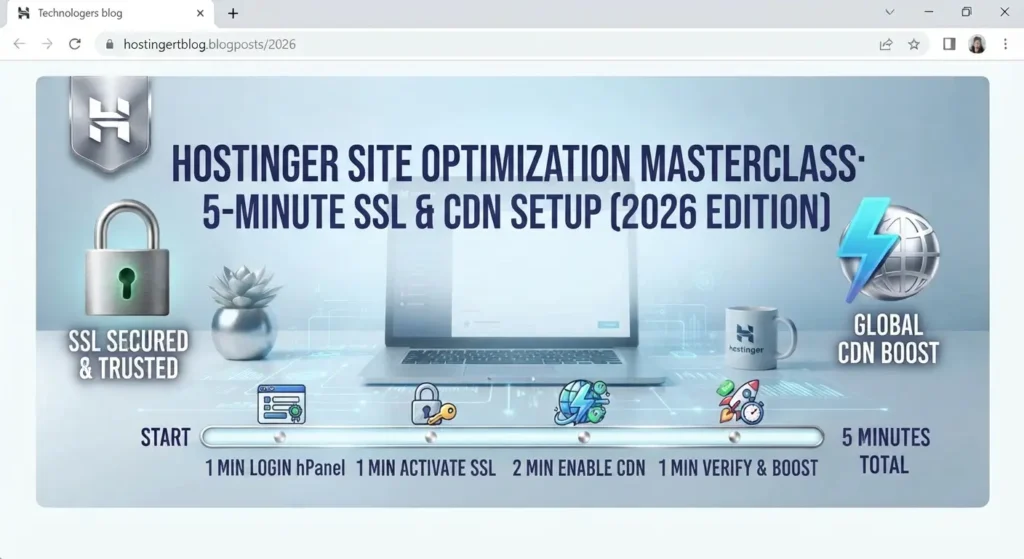
Common SSL and CDN Problems
Even when the setup looks easy, beginners often run into a few problems.
Website Still Opens Without HTTPS
If your site continues opening over HTTP, check your HTTPS redirect settings.
Also clear your browser cache and test the site in a private window.
If the problem continues, check whether WordPress itself is using the correct HTTPS site URL.
Mixed Content Warning
A mixed-content warning usually means your HTTPS page is loading one or more resources through HTTP.
This can happen with:
- Images
- CSS files
- JavaScript
- Fonts
- Old plugin resources
Check the affected resource and update it to use HTTPS.
Avoid installing several SSL-fixing plugins without understanding what they change, because unnecessary redirects can create new problems.
CDN Is Not Showing as Active
If QUIC.cloud is not showing as active, check the domain verification and LiteSpeed Cache connection first.
DNS changes may also require some time before they are visible everywhere.
Make sure the DNS records required by your current QUIC.cloud setup are correctly configured.
Website Looks Broken After Enabling CDN
If your layout suddenly breaks after enabling a CDN or changing cache settings, do not panic.
Temporarily disable the recently changed setting and clear the relevant cache.
Then enable features one at a time so you can identify which setting caused the problem.
This is much safer than changing multiple performance settings at the same time.
A Simple Setup for APK Websites
If you are building an APK website, I recommend keeping the setup simple at first.
Your basic stack can look like this:
Hostinger → Free SSL → WordPress → LiteSpeed Cache → QUIC.cloud
Then focus on the things that actually affect visitors:
- Use properly compressed images
- Keep WordPress and plugins updated
- Remove plugins you do not need
- Use a lightweight theme
- Keep download pages easy to navigate
- Make the website mobile-friendly
- Avoid excessive pop-ups and ads
- Use HTTPS across the entire website
- Test important pages after major changes
A fast website is not only about a CDN. Your hosting, theme, images, plugins, database, caching, and page design all matter.
Is Free SSL Really Enough?
For a normal WordPress website, a properly configured free SSL certificate is usually enough to provide standard HTTPS encryption.
You do not necessarily need to buy a premium SSL certificate just because it is paid.
The important thing is that the certificate is valid, correctly installed, and renewed properly.
If your website handles sensitive business or financial operations, your security requirements may be more complex than simply installing SSL.
Is QUIC.cloud Free?
QUIC.cloud offers free services, but do not assume that every QUIC.cloud feature or every amount of usage is unlimited for free.
Available services, quotas, and limits can change over time.
Before depending on a specific free quota for a large website, check the current QUIC.cloud plan and service details.
This is especially important for high-traffic APK websites where CDN usage can grow quickly.
Final Check Before You Finish
Before considering your setup complete, test these five things:
1. HTTPS works:
Your main pages open using HTTPS.
2. HTTP redirects correctly:
Old HTTP URLs move to the HTTPS version.
3. WordPress works normally:
Admin login, menus, search, images, and download pages work correctly.
4. CDN connection is active:
Your LiteSpeed Cache and QUIC.cloud dashboards show the expected connection or CDN status.
5. Mobile performance is good:
Open your website on a phone and check the actual user experience.
If all five are working, your basic SSL and CDN setup is in good shape.
Your Hostinger Website Is Ready for a Faster Setup
Installing SSL and connecting a CDN does not need to be difficult.
Start with free SSL on Hostinger, make sure your entire WordPress website works correctly over HTTPS, and then connect LiteSpeed Cache with QUIC.cloud for CDN and performance features.
For an APK website, this gives you a solid technical foundation. But remember that speed also depends on your images, theme, plugins, hosting resources, and page structure.
Most importantly, test your website after every major change instead of turning on every optimization option at once.
Visit : APKPROMEX.COM for more new blog guids.